Below is the step by step guide on how to purchase web hosting. In this example, we will shows the purchase of Linux Shared Hosting. The same steps applies for all our web hosting plan.
- Go to our hosting page at https://www.webshop.my/hosting
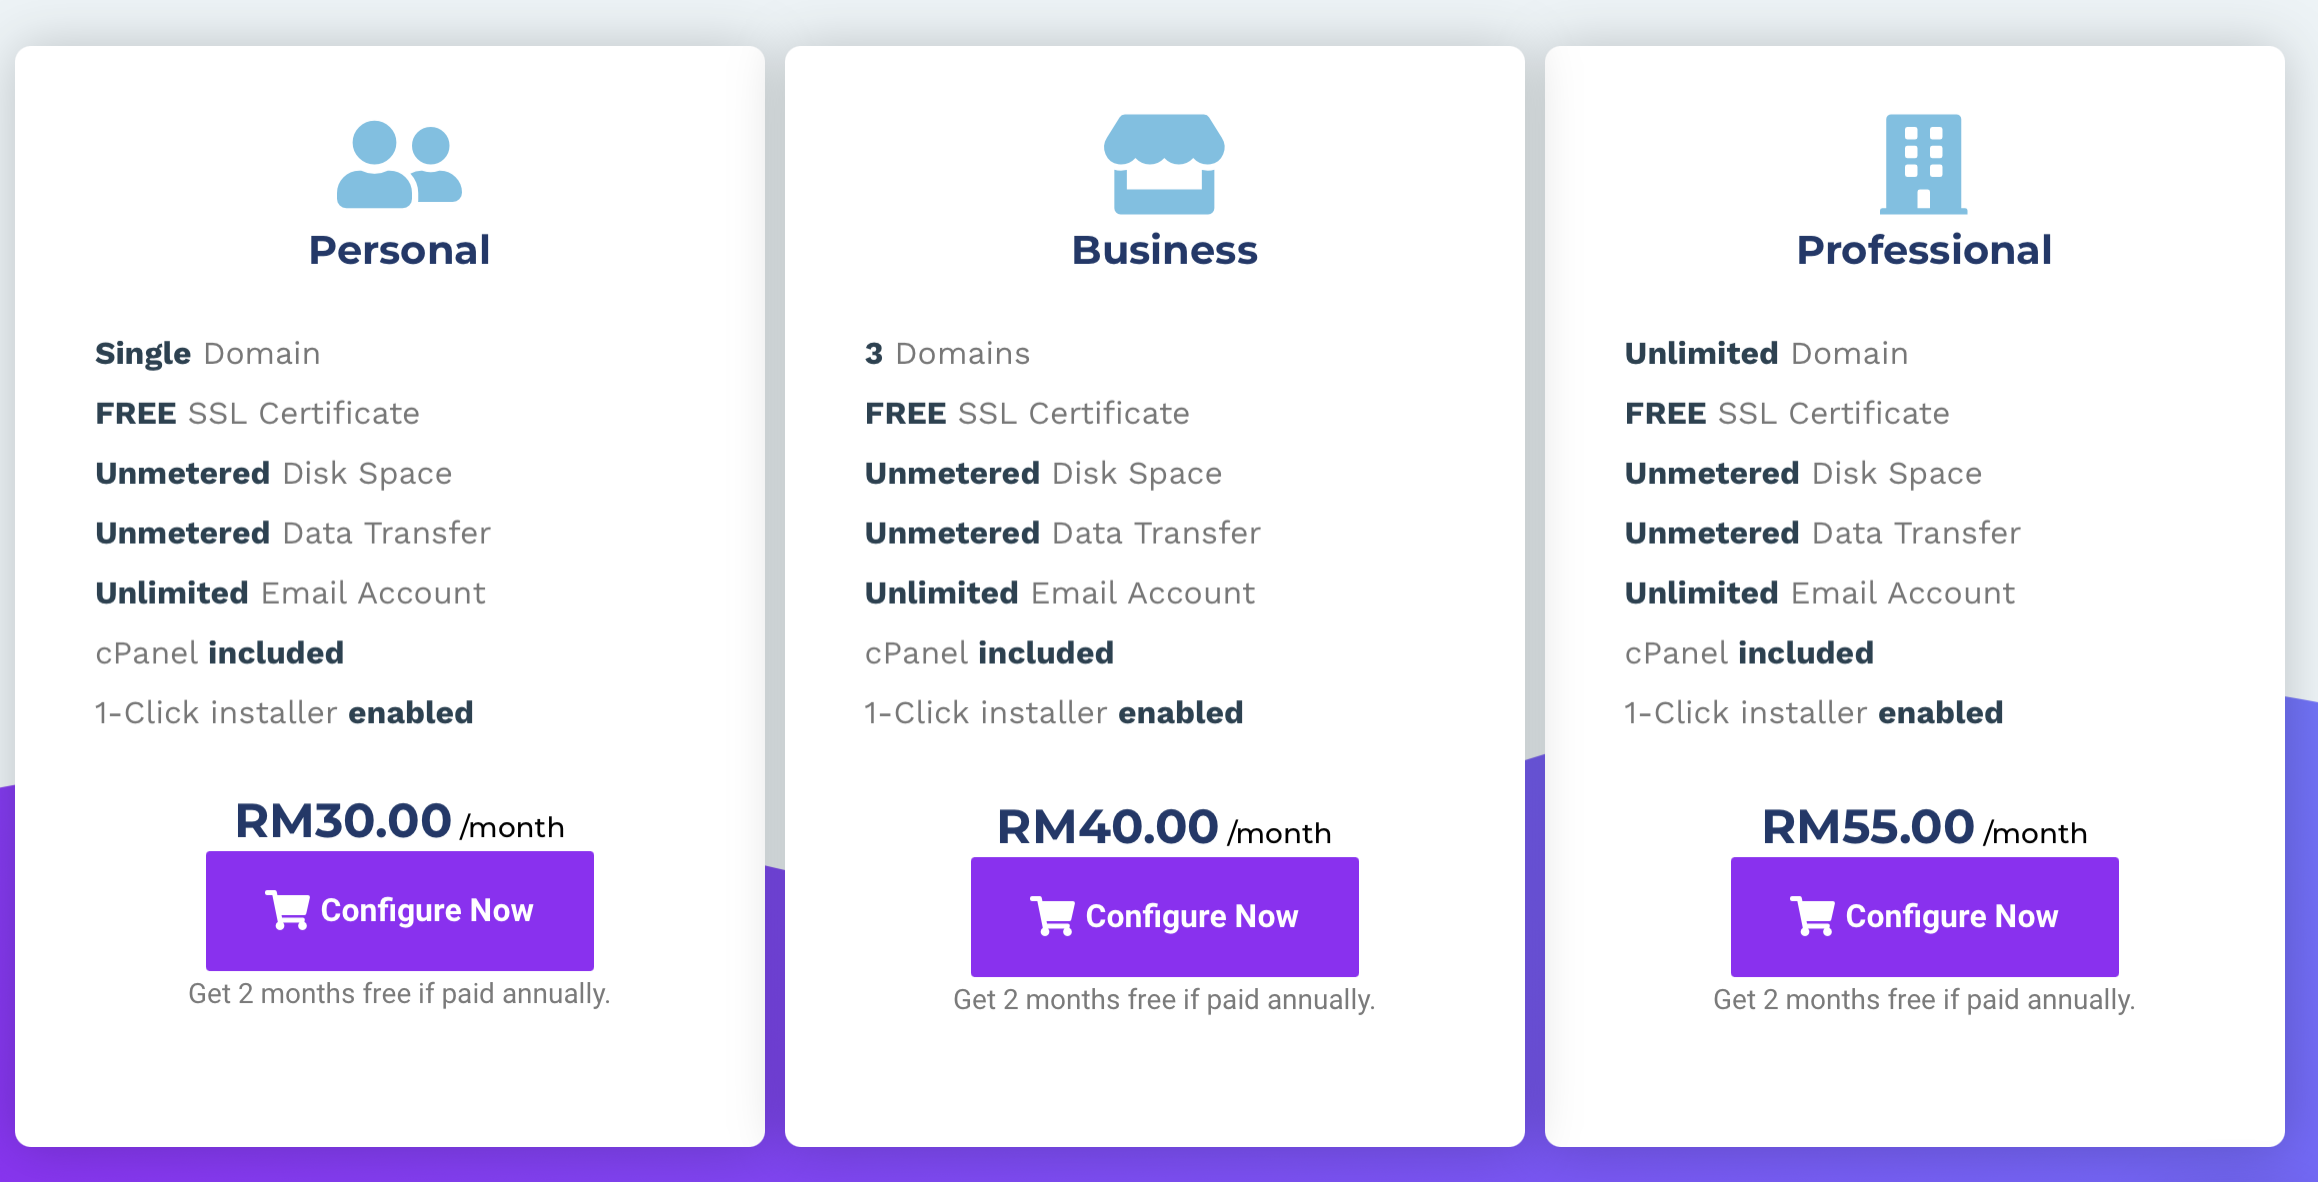
- Choose the appropriate web hosting that you requires. In this example we will shows the example of purchase for the plan mentioned above.
- Read through the different features of each plan, and click the "Configure Now" button as per below.
- You will then be given either three or four options depending on the situation. Let us explain each options available.
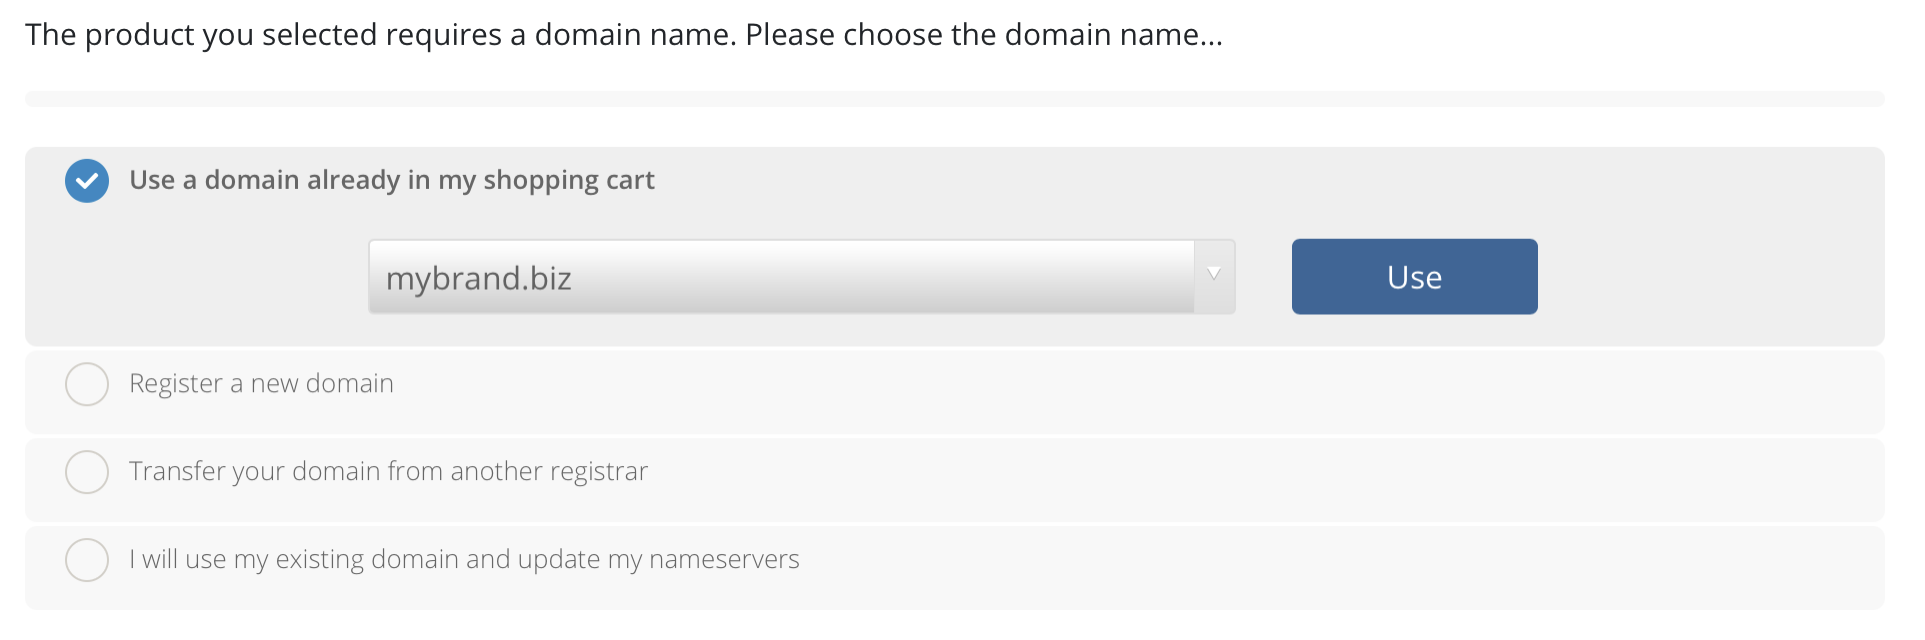
The first option "Use a domain already in my shopping cart". You will only see this option if you have previously add a domain name to the shopping cart. If you intend to use the web hosting with that domain, click the button "Use".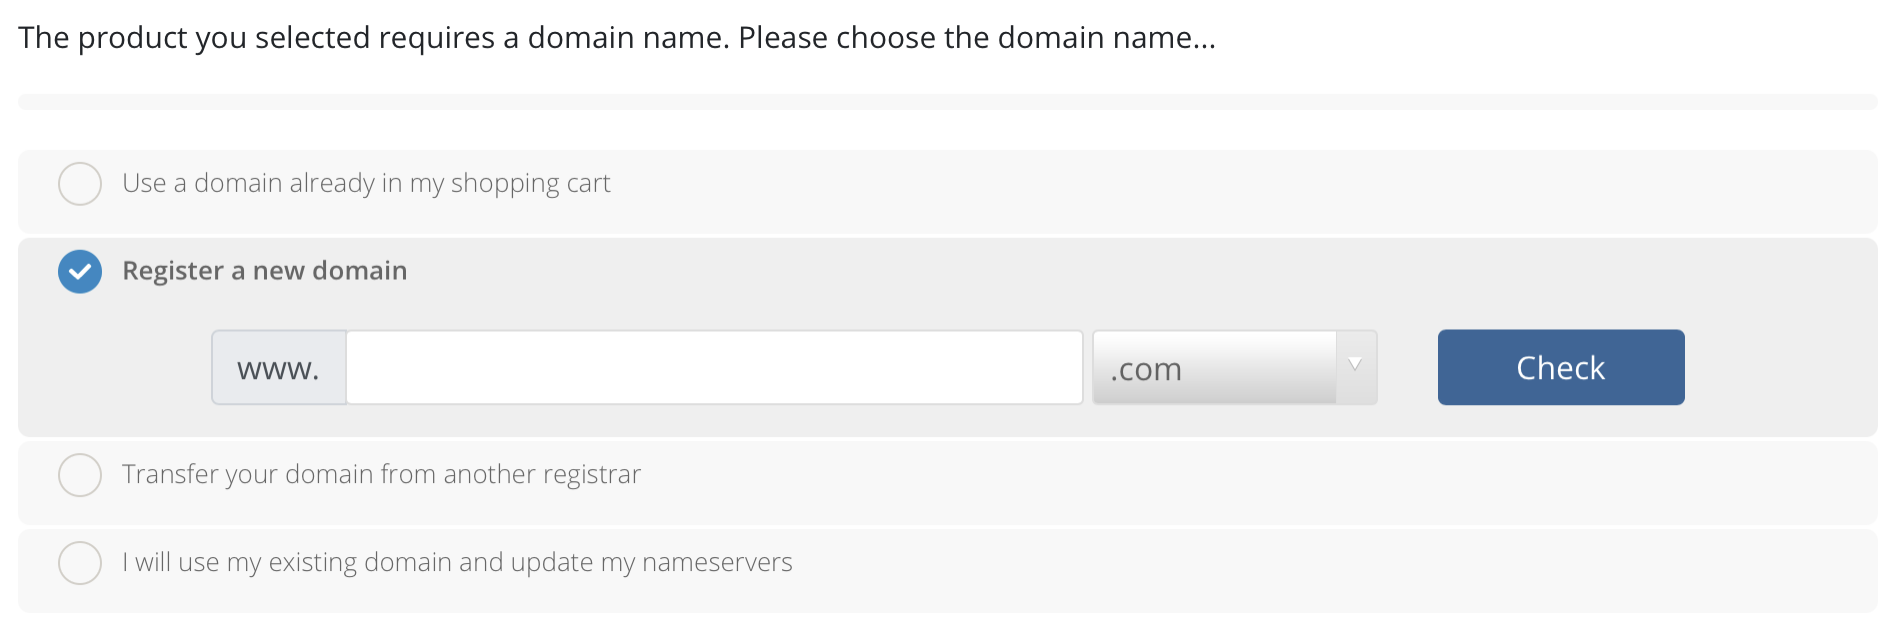
The second option is "Register a new domain". You should select this if you would like to register a new domain name for the web hosting account. Just put the domain name that you would like to check and select the appropriate domain extension (.com, .net, .org, etc) and click the Check button. Our domain search engine will check for the availability of the domain name that you have entered. If it is available, select the domain that you requires and click the "Add to Cart" button. You can also see the price for that domain.
If the domain you search is not available, please repeat this step until you find the domain name that you required.
The third option is "Transfer your domain from another registrar". You should choose this option if you already have a domain name registered with other company and would like to transfer that domain to be managed by us. It makes sense to have everything under one place.
The last option is "I will use my existing domain and update my nameservers". You should choose this option if you already have a domain name registered with other company and do not intend to transfer that domain to us. In such situation, you need to inform your existing domain registration company and request them to point the domain that you own to our nameservers.
Our nameservers are: ns1.webshoppe.asia, ns2.webshoppe.asia, ns3.webshoppe.asia, and ns4.webshoppe.asia.
Once you have selected the relevant option, click "Continue" button below, we will do some validation to ensure its accuracy. We will then bring you to the Web Hosting configuration form. - On this page, you will need to choose the Billing Cycle, either Monthly/ Yearly. Depending on your choice of the billing cycle, the "Order Summary" table will reflect the amount that is due from you today.
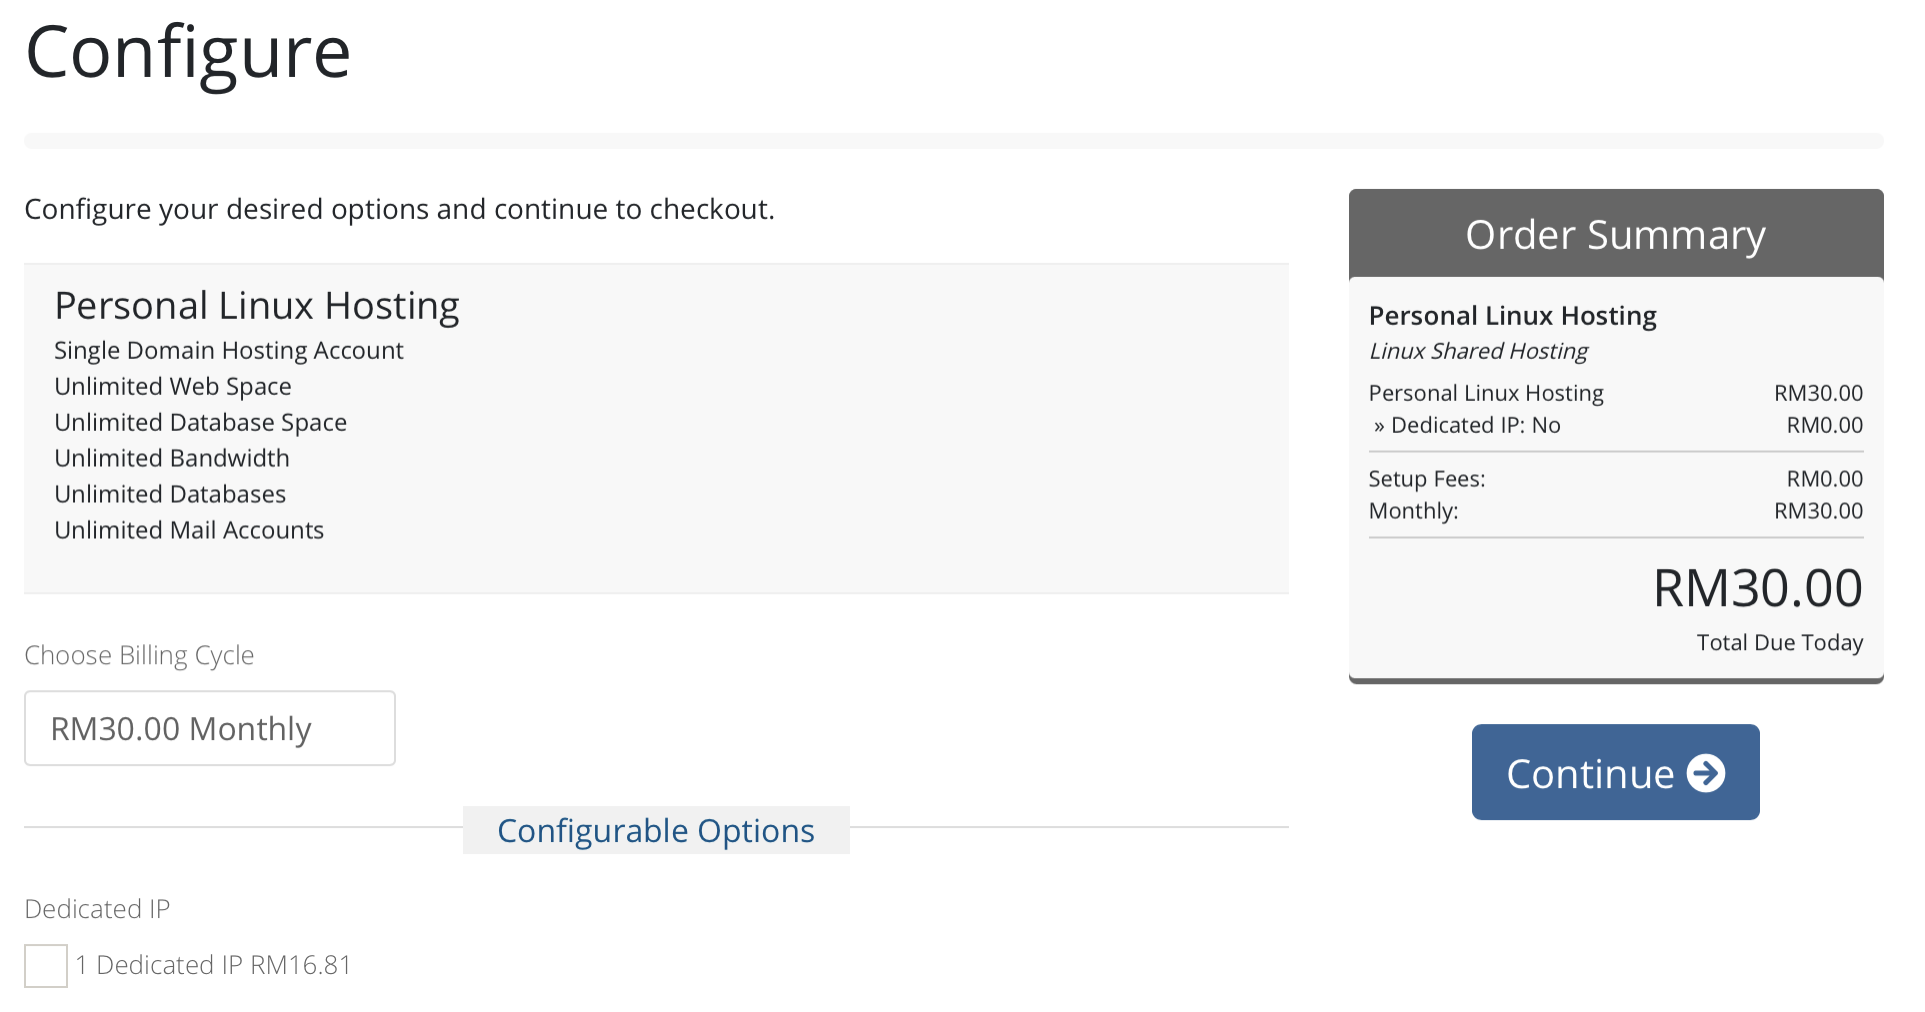
Once done, click the "Continue" button. At this point kindly note you also add any addons for your webhosting. In the example below, you can also add a dedicated IP address for your webhosting. If you would like to add that, just tick the check box next to the item that you would like to add and the "Order Summary" will recalculate the own due from you. - You will now be presented with the Review & Checkout form. Kindly review the hosting plan that you have selected and the price/ cycle that you have chosen. And if you have included the domain name (either new domain registration/ domain to be transferred, etc), you can also choose whether you will like to bulk purchase up to 10 years.

At this point, if you have received from us promotional code (normally in our newsletter or our social media advertisement), enter the code here and click "Validate Code". If the code you entered is valid, the relevant discount will be reflected in the Order Summary. If everything is in order, click the "Checkout" button above. - At the checkout page, you need to enter your contact information such as your name, address, phone number as follows. If you already registered, click the "Already Registered?" button and you will need to login with your username and password.
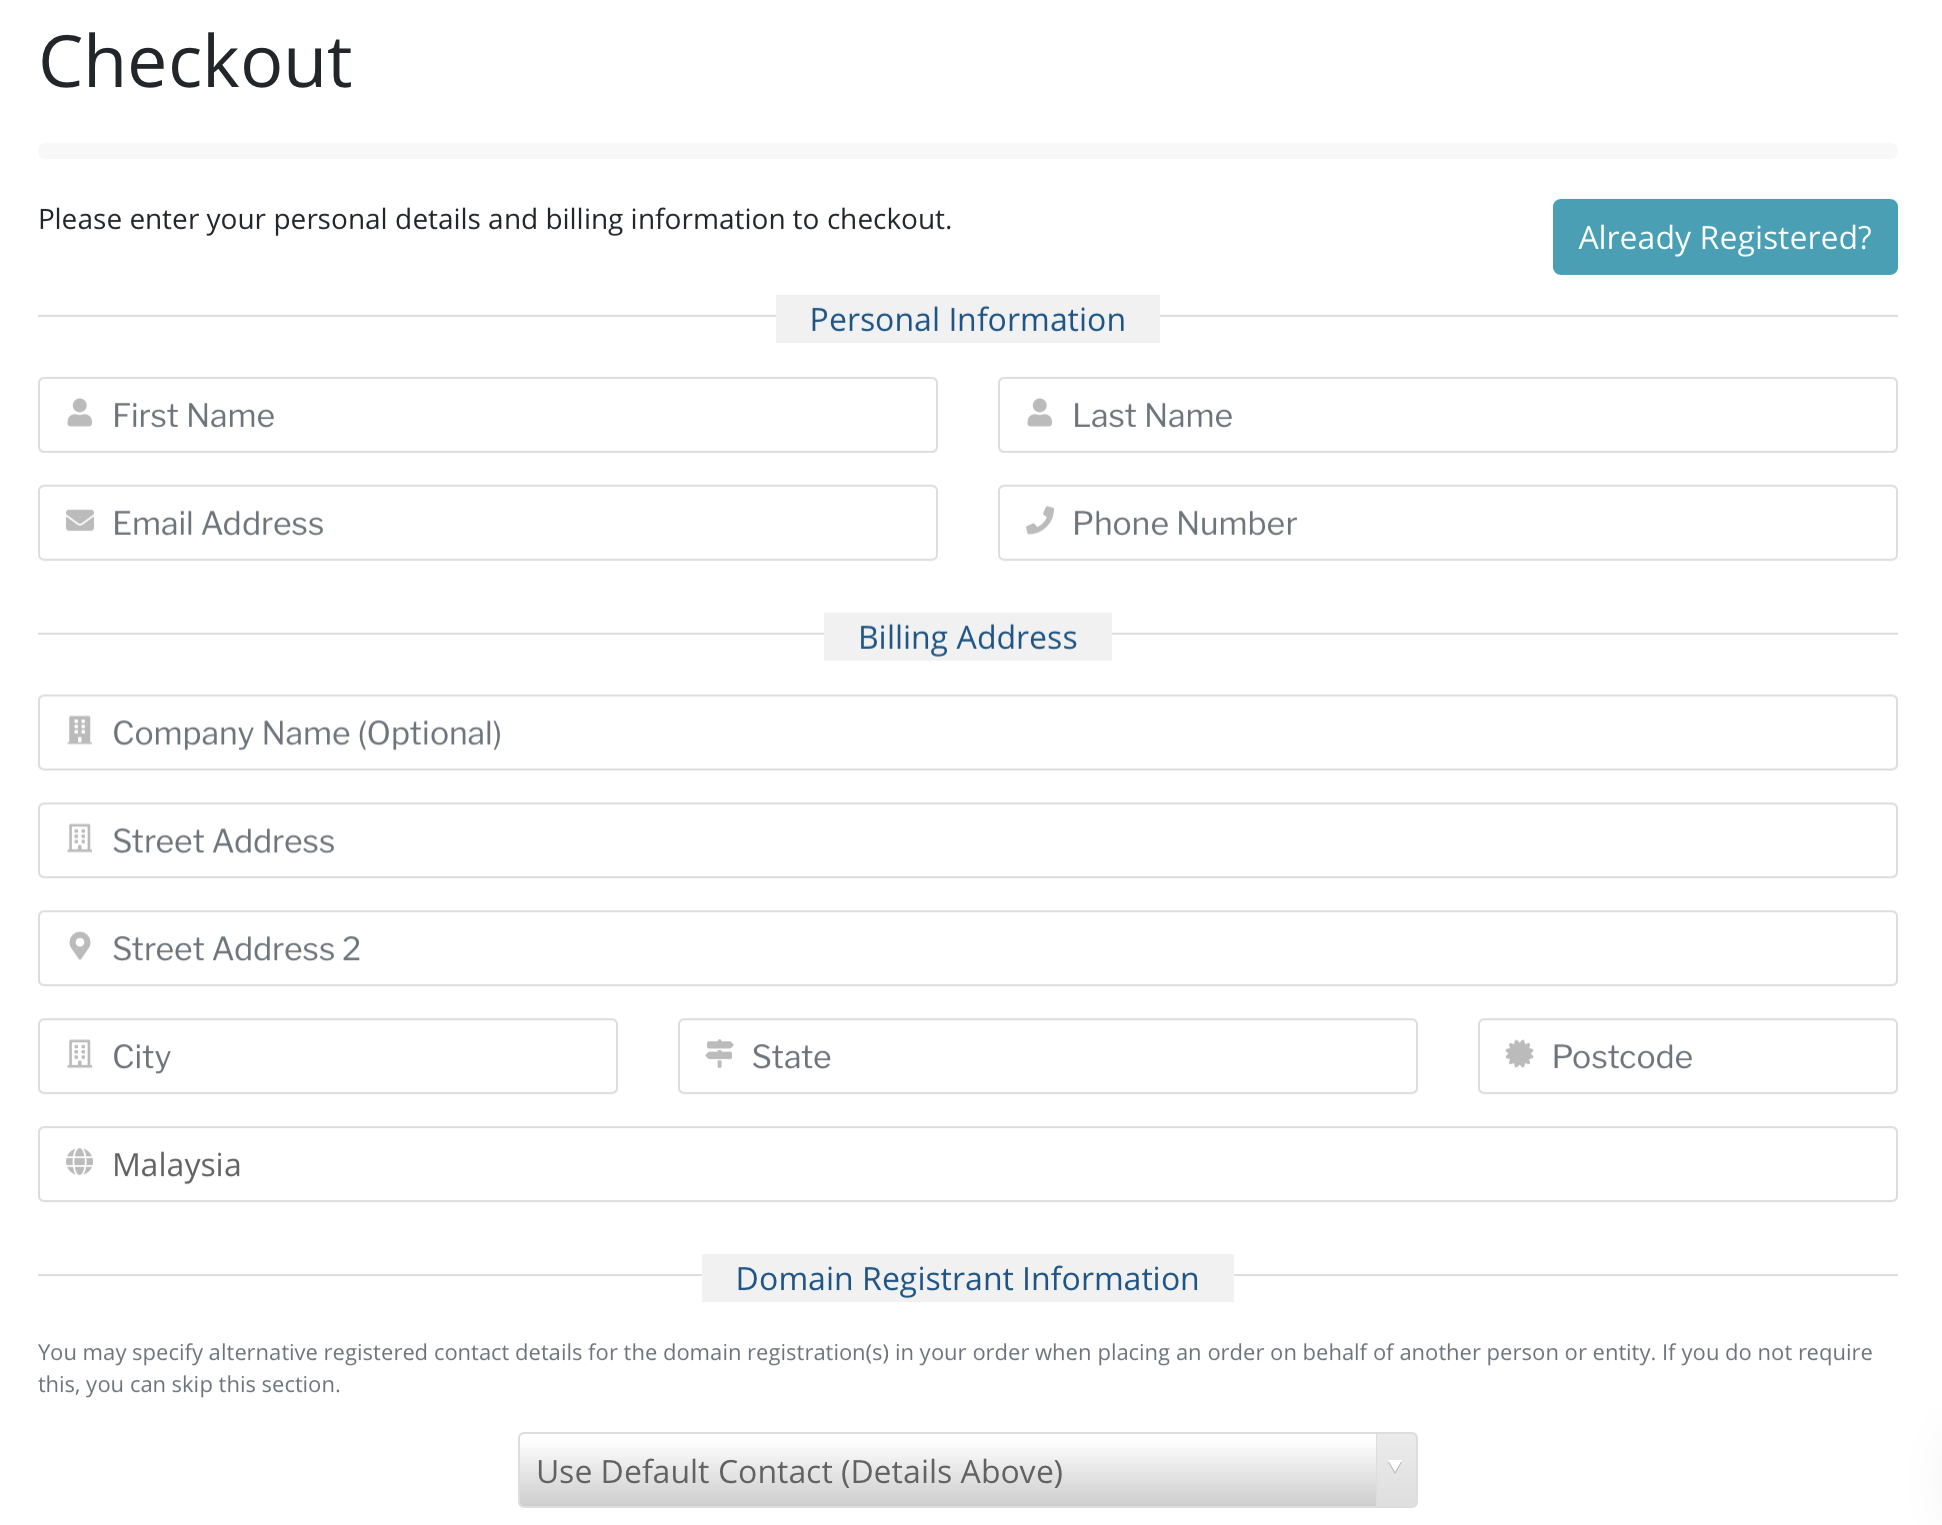
Kindly note, if you also registered a new domain name, the same information will be submitted to Domain Registrar accordingly. The second part of the checkout form is about your security (i.e. password, if you just register recently).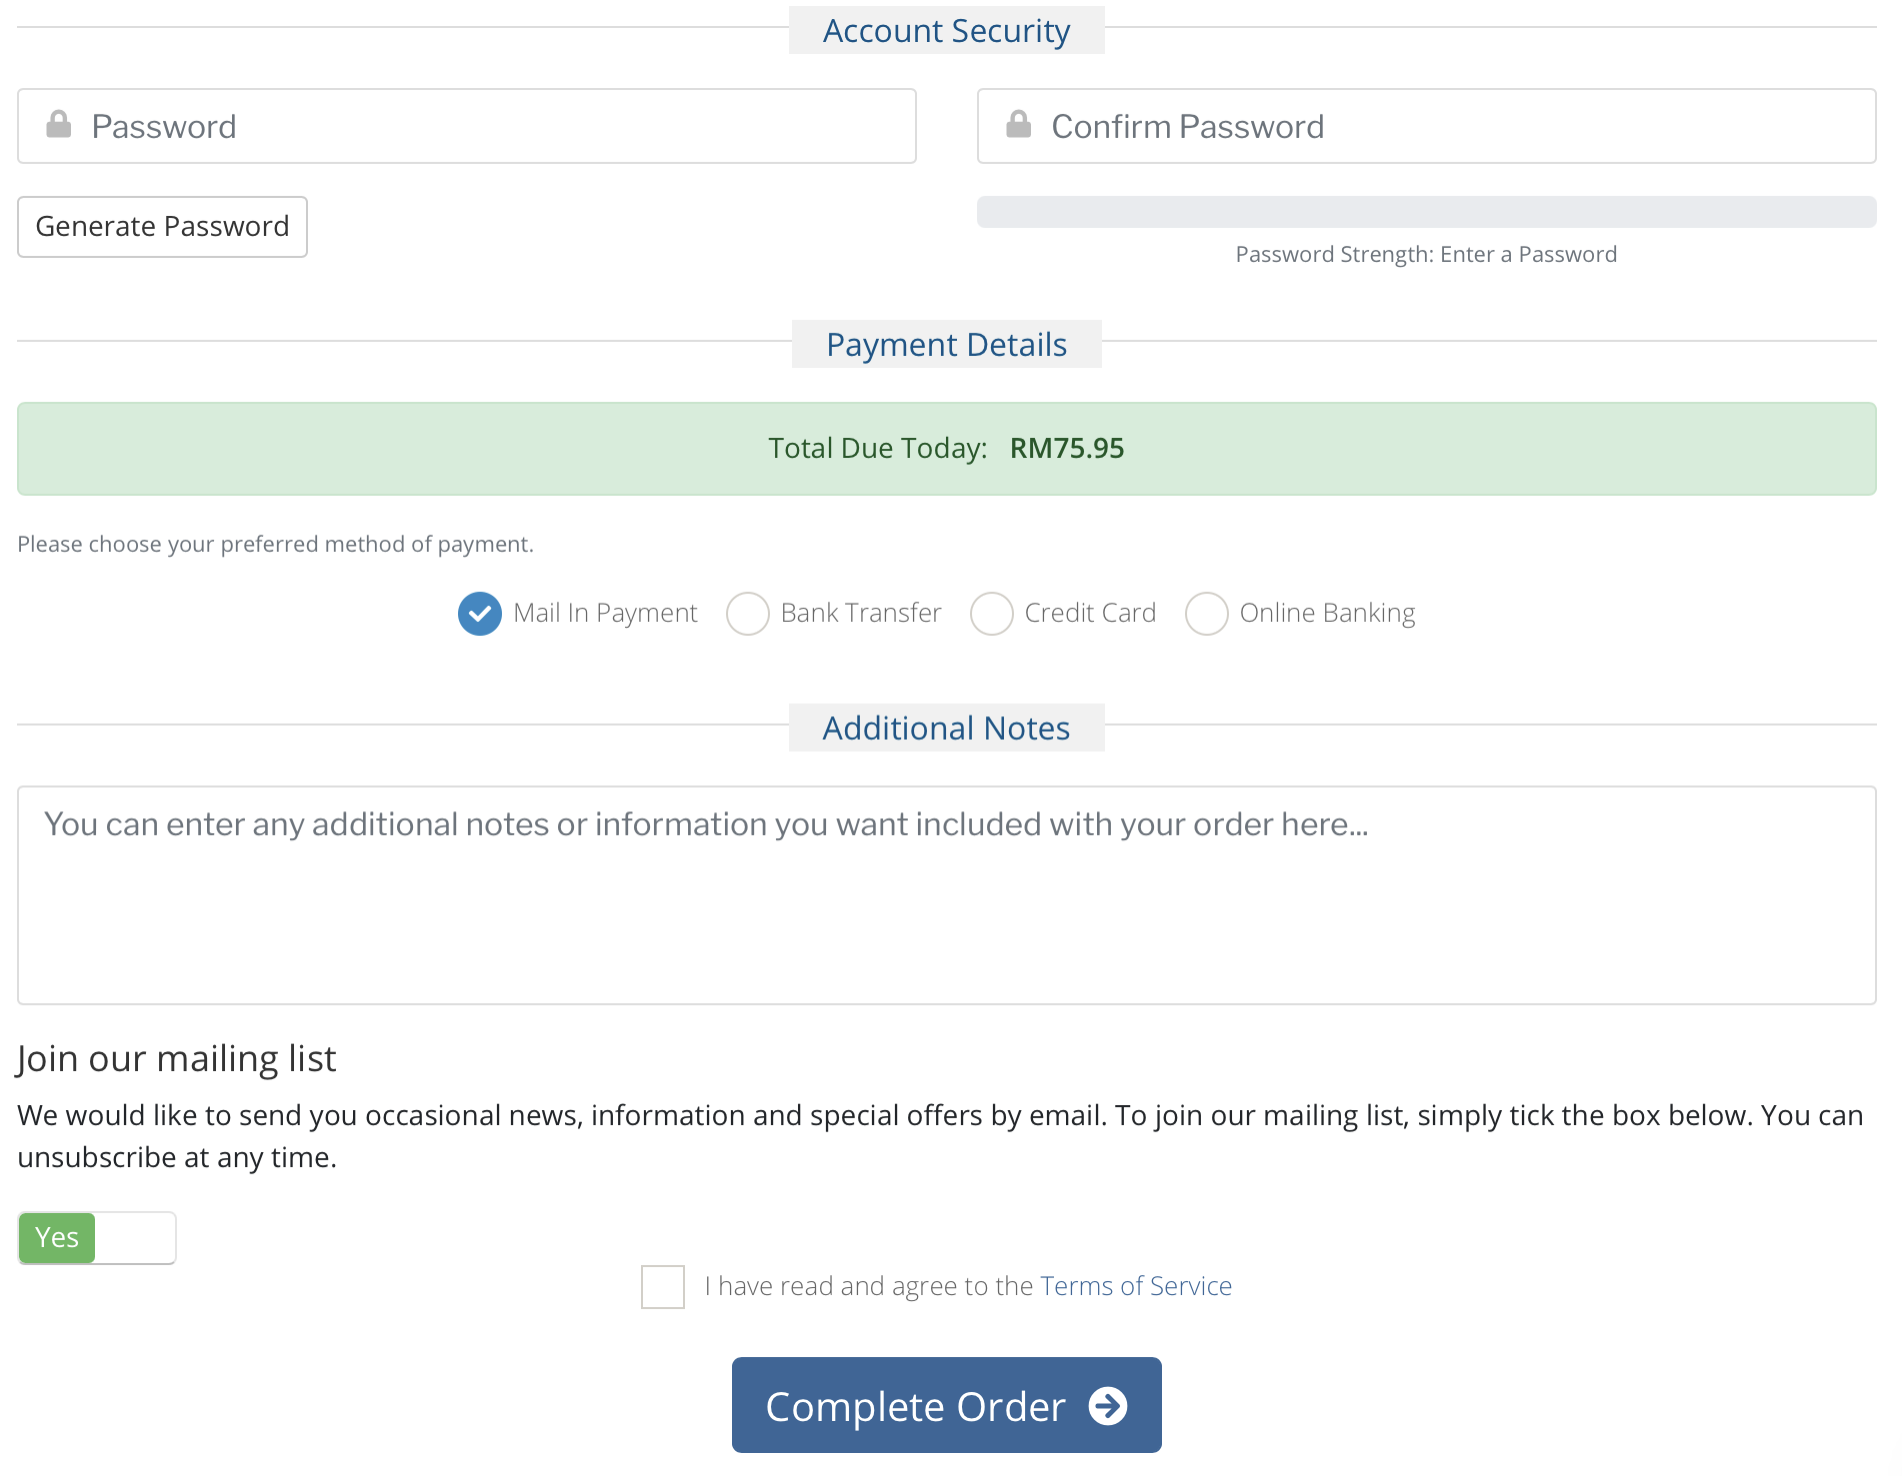
Check your payment details and choose your payment method. Unless you choose Credit Card/ Online Banking, we will only able to process your order upon receipt of the proof of payment.
Feel free to add any additional notes that you would like to ask us, and we encourage you to join our mailing list to get the latest news about what is happening at Lavender Web Shop as well as some members-only promotions.
Read through out Terms of Service, and tick the check box next to it, once you have done and click "Complete Order". You will then proceed to your payment page based on the choice of the payment method, and follow the steps provided depending on your choice of payment.
You will receive email from us on the order confirmation as well as receipt for payment.
If you have further question, kindly contact us at sales@webshop.my
